
This blog is part of a 5 part series. To read the other steps see below:
- Step 1 – How to Move Your Physical Store Online
- Step 2 – Online Product Showcase
- Step 3 – Start Selling and Taking Payments Online
- Step 4 – Store or Curbside Pickup
- Step 5 – Local Delivery or Shipment
Once you have successfully built your digital storefront and your physical store and products can be found online, the next step will be taking payment for orders online. This is when you will want to focus your efforts on setting up your e-commerce site.
In this blog post, we’ll go over how you can quickly set up your online product catalog for customers to see on your website and to order from.
The importance of selling online post-COVID-19

Brick and mortar retailers who are looking to sell online usually face the same set of challenges including missing product descriptions and images, incorrectly setup products or a lack of funds, resources, or skills to manage an e-commerce store.
While these challenges often prevent traditional retailers from setting up an online store, the opportunities you miss by only selling in-store and not investing in an e-commerce site are far greater. As an increasing number of consumers shop online post-COVID-19, failing to provide an online checkout experience means you are missing out on potential customers and sales
The good news is, modern day e-commerce providers have made it easy to set up an online store as they simply re-use your existing POS products. In fact, retail platforms such as TAKU eCommerce are even able to enhance product data to make your product details more e-commerce ready and more searchable on Google. By re-using existing product details, merchants using TAKU, for example, have the ability to showcase their products and take payments online in just a few steps.
To show you what this looks like, we’ll take you through the step-by-step process of re-using your existing product catalog with TAKU eCommerce so you can quickly start taking payments online.
How to start selling online with TAKU eCommerce
Many traditional retailers become discouraged at the thought of setting up an online store. However, depending on the platform, it is actually quite simple to get started.
Let’s see an example of how this works with TAKU eCommerce:
1. Decide where to add your shopping cart
As long as you are using TAKU, you have two options to quickly start selling online:
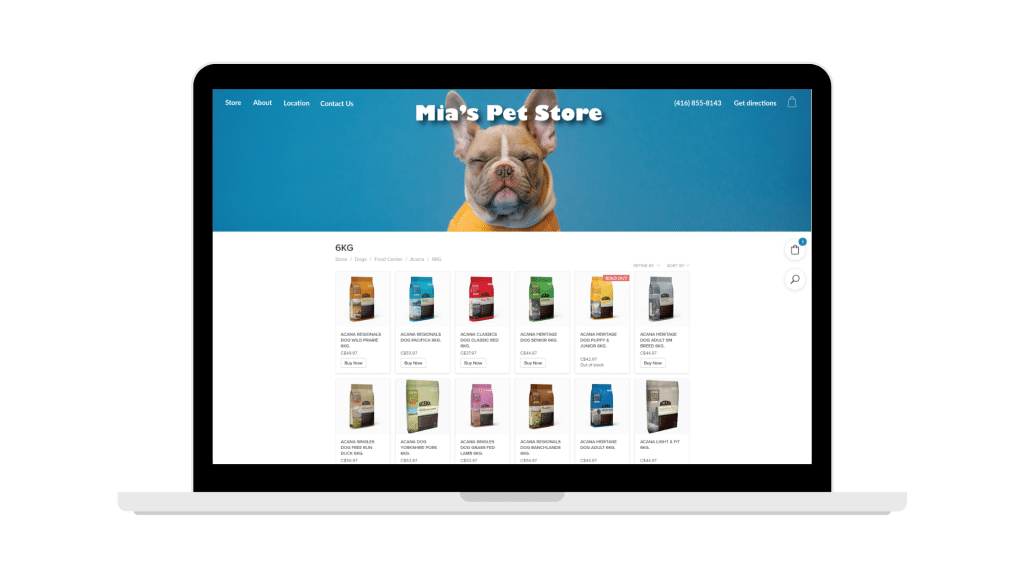
- Automatically create an instant store which is a clean, easy-to-use, single page webstore that works in every screen size. This option is usually best for retailers who don’t have an existing website, need to replace an older looking site or want to just add a new Shop option linked to their store products.
- Or alternatively, if you already have a WordPress informational website, you can add the TAKU eCommerce shopping cart as a WordPress plugin. This option is super fast and preferred for retailers that want their online store to automatically match the style of their existing WordPress site.
2. Add your products
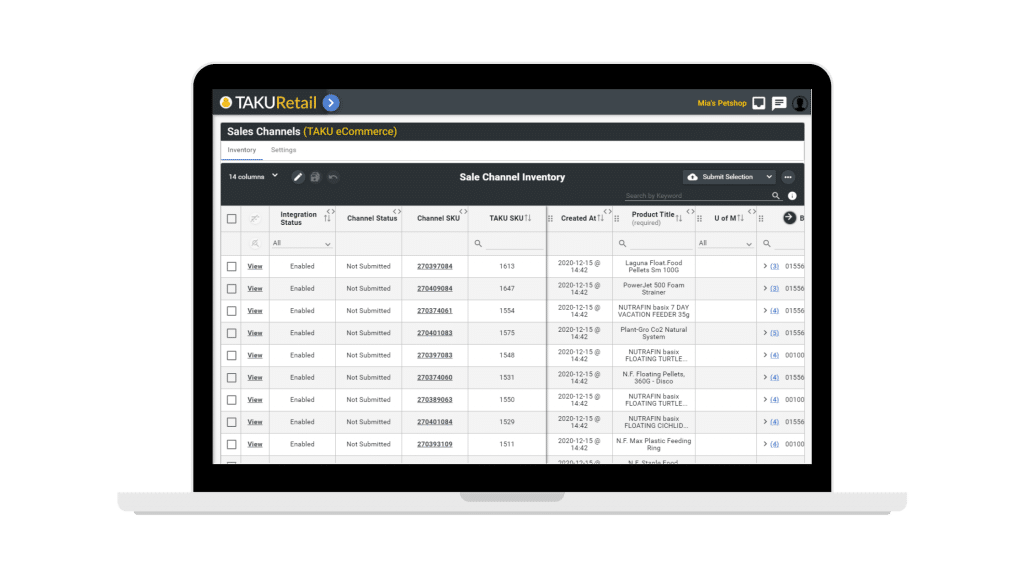
Adding your products to your online store in TAKU is as easy as enabling them with a few clicks. But even if your product details are not complete (e.g. your products are very unique or require custom product descriptions or images) traditional brick and mortar retailers should not be held back from launching their online store. In fact, retailers should expect to launch an e-commerce site without their full product catalog in the beginning. As long as a retailer has, for example, 100 products with images and descriptions, she or he can still launch and add new products overtime, eventually building their full online product catalog. In comparison to a physical store, it’s perfectly reasonable to launch with several hundred products and add new ones every day. In fact, highlighting that “NEW items are being added daily” on your homepage is a great way to keep customers coming back.
3. Add business information
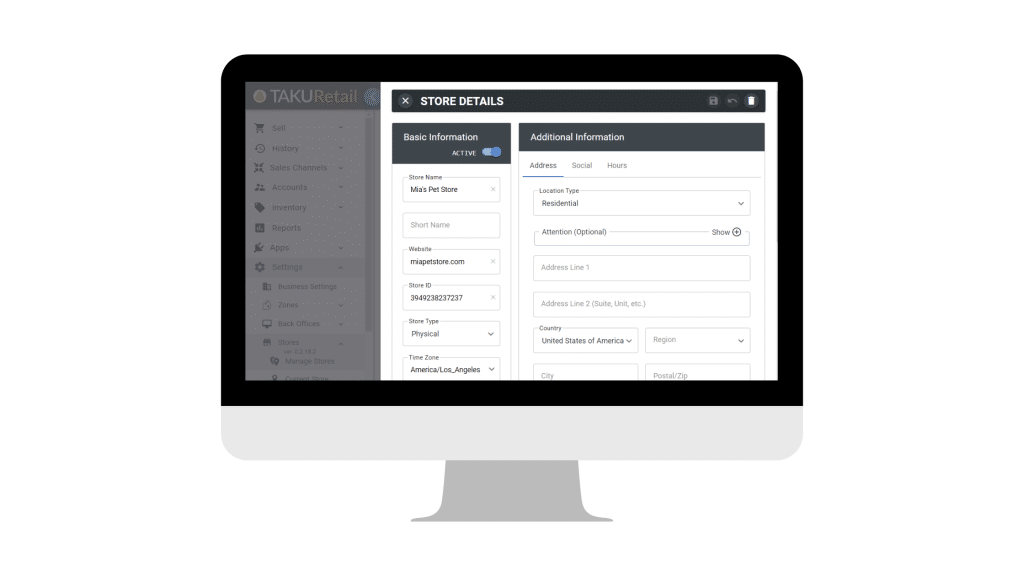
In general settings, make sure that your business information such as your store name, store address, phone number, work email address, currency, and language are all correct. With TAKU, some of this information is automatically available but you may want to customize it for your online store. For example, you may want to use your trade name vs. your legal business name.
4. Legal information
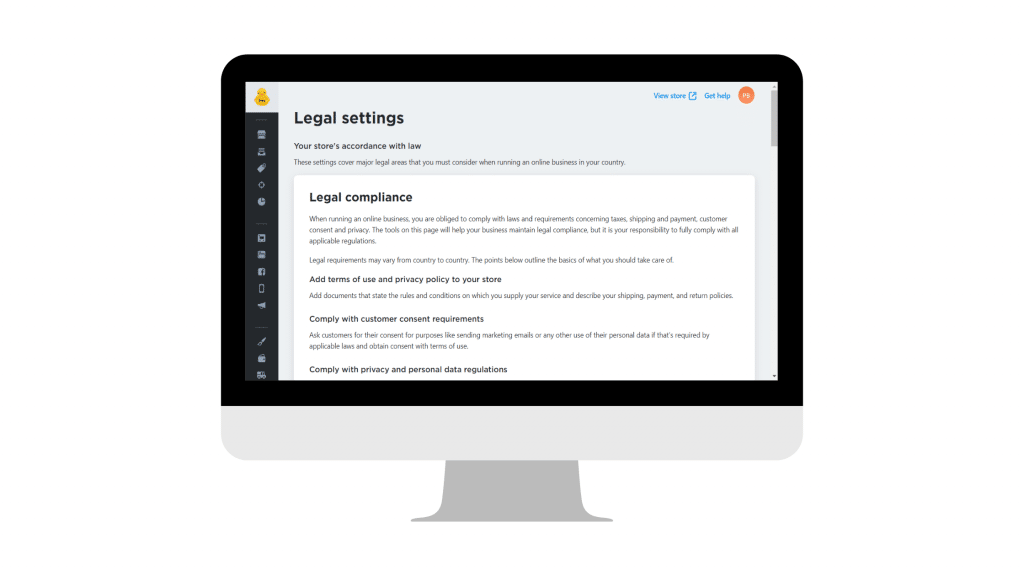
For any type of website, it is important to have a few basic policies setup such as your Privacy Policy or Terms or Service. If you already have these, that’s great, just paste them in legal settings. If not, it’s always recommended to have a legal advisor prepare or review these types of documents for you but if you need something quickly, you can also start with free basic legal document creation tools such as GetTerms or Avodocs in the beginning.
5. Customize the look of your store

You can use any of the existing themes as they are or easily personalize your online store using the built-in options. Remember that TAKU eCommerce web stores are built to be completely mobile responsive so you don’t need to worry about how things will look on different screens – they will always look good on any screen size.
6. Check your web address

Every TAKU eCommerce store comes with a free web address in the form of “yourstore12345.company.site”. You can either use this free URL address, buy a new domain from a third party provider, or connect an existing domain that you already own.
7. Enable payments

TAKU eCommerce supports a variety of payment providers meaning that merchants can choose or setup the payment methods that best suit their business needs. This also gives merchants more freedom to negotiate with providers and lower payment processing fees/costs. While we always encourage retailers to take payment online to minimize the risk of losing the sale or shoppers not picking up products, with TAKU eCommerce, you can even include an option for Pay in Store. If this is your preference, you can complete the payment with TAKU when shoppers arrive in the store.
Once the steps above are complete, you’re ready to start selling online!
We hope you are now comfortable with the general steps involved when setting up an online store. In the next two blog posts and videos, we will discuss how you can add fulfillment methods such as contactless curbside pickup and local delivery.